In Search of Good Light
Follow the exploits of an up and coming landscape photographer as he endures the mental and physical scrapes of breaking into the business and sharing his vision with the world.
Always take something home
I have mentioned in previous posts that one of the curses of landscape photography is that all too often, you get up early, show up to your chosen location, and the light decides to stay home. That doesn’t mean that you have to go home with nothing.
For example, this morning I woke up to a favorable forecast for some great under lighting for the clouds. Of course, when I showed up, no sun to be found. I also found out that I had left my filter holder at home. Now, I know that photographers don’t bother with filter holders and just handhold their filters, but I don’t have the steadiest hands and I like the freedom offered with holder. Today I was out of luck, but I took home so lessons.
Lesson one: always pack your bag the night before, especially if you are not a morning person. Seems kind of obvious, but it’s easy to be lazy the night before and just plan to throw everything in when you first roll out of bed. You will inevitably forget something.
Lesson 2: practice hand holding your filters, even if you have a holder. Why? Because your index finger simply does not look good in the picture next to the 200 year old lighthouse. You have to hold he filters just right to allow for the most comfort, stability, and to keep those pesky digits from floating into the shot. Or start a new series of pictures with you fingers next to famous landmarks, that’ll sell well.
So always remember, even if you don’t get the shot, use the opportunity to practice new techniques, learn a lesson, or try a new completion. Always take something home with you.
Until next time, happy shooting.
Tools of the Trade: Gradual Neutral Density Filters
As a landscape photographer, I am in a constant struggle trying to even out my exposure between a dark foreground and a bright background. What most people don’t know is that there is usually a huge difference in the exposure times between the sky and ground. If my sky meters for1/30th at f/16, my ground will meter a 1/2nd. Inevitably, if I were to shoot at 1/2nd or 1/30th, I would lose the detail in either the sky or ground. A common failing of point and shoot cameras, and even some DSLR camera’s that is that it can only really detect a few stops of light range. So if your landscape is dynamic and there are dramatic differences in light, its likely those cameras will not be able to properly expose the image.
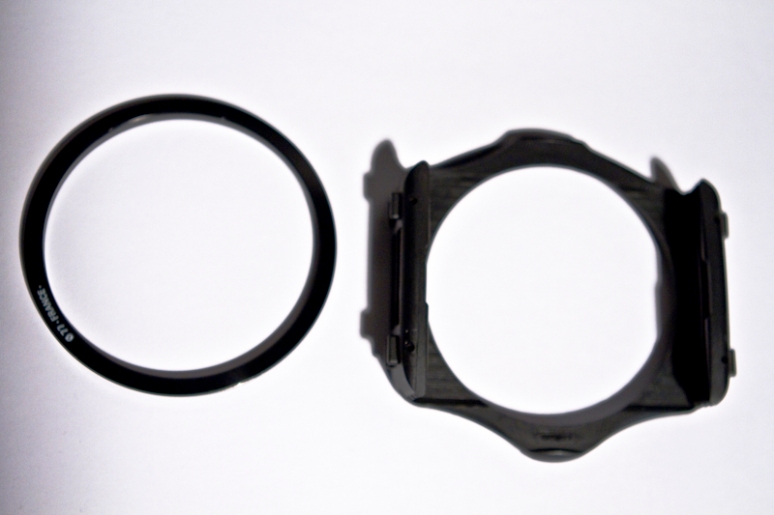
The tool I reach for to fix this problem is a Gradual Neutral Density filter. GND’s come in all shapes and sizes, each with a different application depending on the circumstances. The main purpose of a GND is to darken certain portions of the picture so as to allow for an even exposure between foreground and background. The majority of the day, the sky is at least a few stops lighter than the foreground and during dusk and dawn, that gap is much bigger. Often if you expose for the foreground, you blowout you sky, and if you expose for the sky, good-bye detail in your foreground.
That’s where GND’s come in. They are clear sheets of glass or plastic that goes in front of the lens, darkening half of it to allow for an even exposure. So say that your sky is 6 stops different than your foreground. If you throw a couple GNDs on the sky, you will have a nice even exposure. Of course with conditions constantly changing, these filters come in various stops to allow the right fit. The most common ones are .3, .6, and .9, which translate to 1-stop, 2-stops, and 3-stops respectively. These can be combined together to make up for a large difference between your sky and ground. Often while shooting sunset or sunrise, I am using at least 5-stops worth of GND’s. These filters also come in varies levels of transitions too, for more specific

This is a 30 second shot taken during sunrise. No filters were used and while the foreground is well exposed, the sky is blown out.
The most common type of these filters is soft transition, meaning that from the middle to the top of the filter, the change from lighter to darker is slower. The other common type are hard transition, which have an only a slight gradual from middle to top. On top of the two major kinds, there are more specific types like reverse and strip GND’s. A reverse is similar to a normal GND, but instead of the normal light to dark going from middle to the top of the filter, it starts dark in the middle and gets gradually lighter at the top. These are especially great at sunrise or sunset in that typically the brightest part of the sky is around the horizon and not at the top of the image. A strip GND is very specific in that only a small strip on the filter is dark. This is useful in only a few situations like if the sun is below the clouds giving great under light, but that little sliver of light where the sun sits is completely blown out.
I imagine this sounds pretty complicated to those that haven’t used them before, but the concept is simple enough. It darkens your bights so that everything in the image is evenly exposed. I can honestly tell you that if properly used, these can transform your images from bland to spectacular. There are various levels of these filters that make it easy for beginners to spend little to start to try it. A basic set of them with a holder will be less than $100, which is a cheap way to make better images in my humble opinion.
Until next time, happy shooting.
Acadia Sum Up
This year’s trip to Acadia was a case of mixed weather, but it yielded fantastic results. As I have told people before, pictures are at their best when Mother Nature is at her worst. While there were no real extremes during this trip, I was hit with a few different weather conditions that required me to adapt my way of shooting.
My first day there, the weather wasn’t particularly bad, but unfortunately, the sky was relatively flat, so I wasn’t able to capture any drama. This was a good chance for me to play around with my new 10-stop ND filter and I was able to get a few cool shots on the rocky coast.
The next day brought the worst of the weather I was to face on my trip as it rained for the whole day. I am not one that is easily deterred from being out in the rain, but it does make shooting a little more difficult. Since I often employ a handful of gradual neutral density filters to create a fair amount of drama in my shots, rain then becomes a problem. Once those filters get wet, its impossible to get a clean shot with them. While the rain kept me away from the coast most of the day, I was able to head to take advantage of the abundance of water that had now swelled the normally babbling brooks. I spent over an hour photographing Jordan Stream, which had now become a raging torrent. Toward the end of the day, there were a few brief windows where the rain ceased and I was able to get some shots around Thunder Hole and Sand Beach.
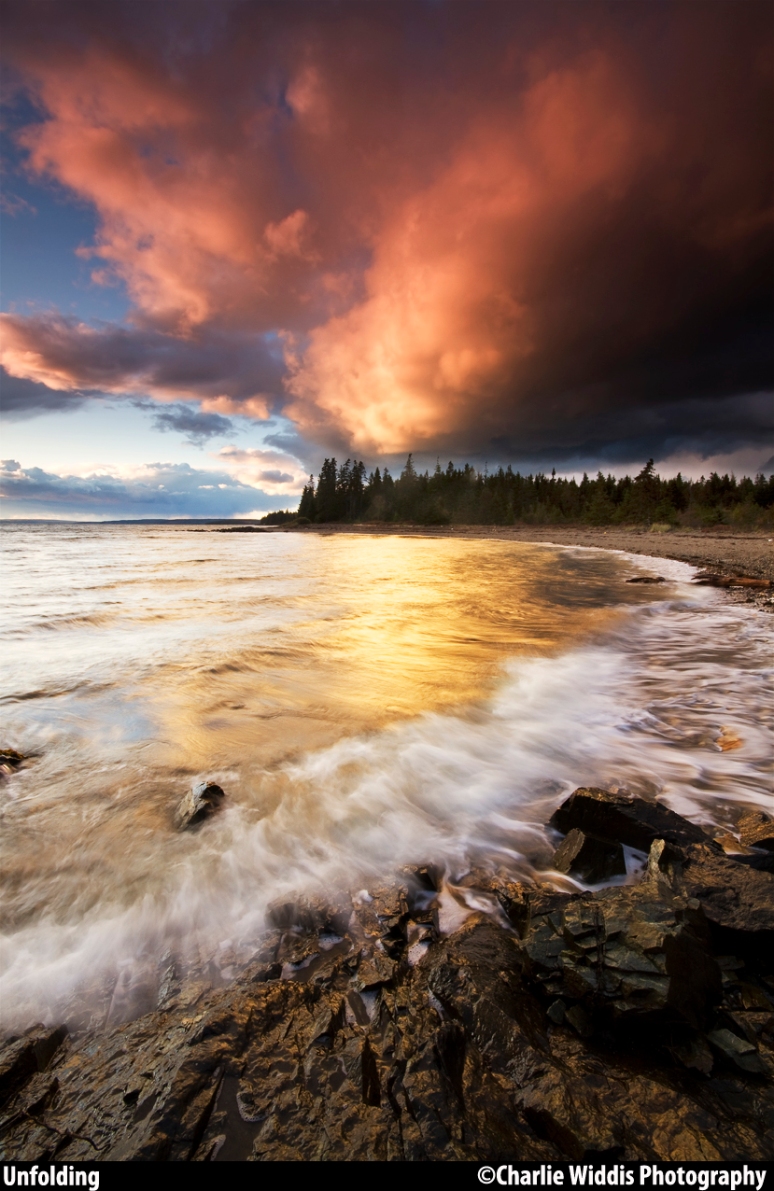
The next morning brought the sun back, and the clouds began to part around sunrise. Unfortunately, when the clouds left, the temperature also dropped about 15 degrees and there were 30 to 40 mph gusts. Once I put on a few extra layers, I spent the day capturing a quickly moving and shifting sky. Toward the evening I headed to the west side of the island and met up with local and fellow photog Nate Parker. He took me to a secluded beach and we were greeted with a fantastic sunset. Conditions were changing fast and it would go from completely cloudy with rain to a dramatic colored sky. I was able to get some great shots along the water.
The next morning was somewhat of a let down after all the dramatic scenery of the past few days. As I rose early, bleary eyed, I was greeted with a nearly cloudless and flat morning. I still fired off a few shots, but unfortunately wasn’t given any overly pleasing results.
Overall, despite the rain, this trip was a success. I was able to get a handful of dramatic shots that will find a nice home in my portfolio. I will definitely be making it out there again sometime next year.
Until next time, happy shooting.
Road to the sky
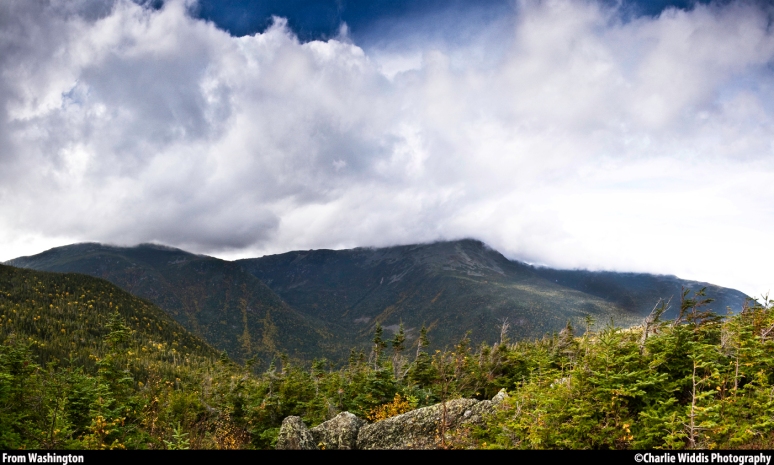
When you are looking to get great shots from high places, it really helps when someone is kind enough to build a road that goes directly to the top. Recently, I made a trip to New Hampshire and decided to head to the top of Mount Washington, the highest mountain in New England. Lucky for me, the Mount Washington Auto Road takes you right to the peak.
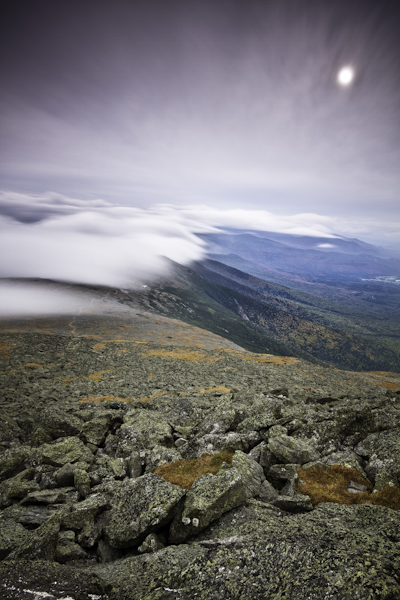
This trip was a great excuse to try out my new filter, the B+W 110 10-stop ND filter. To give me people an idea of what 10-stops means, without the filter, I was shooting at about 1/10th of a second at f/22. When I pop that filter on, I was exposing around 1 to 2 minutes in the same lighting conditions. The difference is staggering.
My hope was that with the clouds moving much faster over the mountain, I would be able to show some motion, versus the typically static clouds seen during the day. I wouldn’t say any of the results were spectacular, but what I was seeing was still getting me excited for future possibilities.
It’s hard to describe the drive to someone that hasn’t taken it, but I’ll try my best. It’s only an 8 miles trip, but there is so much to see. While out west, the timber line on most mountains is pretty high, you start to get above the trees on Washington around 4000 feet. You are treated with a uninterrupted view of the rest of the presidential range as well as down into the notches that surround the mountain. With the fall foliage finally beginning to take hold here, there were various colors in place of the usual wash of green.
What I truly love about getting that high is, low hanging clouds hit the side of the mountain, and one moment you can be clear and in the sun, and the next, you are driving through a thick, cold fog. It’s a unique experience to say the least.
Until next time, happy shooting.
The Summer Tour
Hey Folks. Right now there is an idea in the works, merely in its infancy, for a summer tour. In the hopes to expand not only my portfolio, but my mind as well, I would like to take a summer and tour the American Northwest. I have always dreamed of heading into the mountains, but here on the East Coast, I am only given the White Mountains of Maine and New Hampshire. While these are still a gorgeous set of mountains that I have grown to love, at barely over a mile high, they are hardly the peaks I yearn for.
Right now the idea would be to head to a lot of the national parks out there, and there are some choice ones to choose from. Currently the list would include Mount Rainier, North Cascades, Glacier, Redwood, Crater Lake, Yosemite, Olympic, and a number of other small areas like Mt. Hood.
As I would like to one-day move out west, this will also be a good chance to check out some places to live. I will hit the cities like Eugene, Portland, and Seattle.
I am looking to you, my adoring audience that may have been out there and might have some recommendations as to where I should go, places to sleep, or trips on how to save money and keep this trip as cheap as possible. Right now it will be kept to strictly camping with the occasional hotel stay.
Also, I you want to throw a few bucks my way in exchange for a print or two, that would also be greatly appreciated.
Until next time, happy shooting.
Acadia Part II: Jordon Pond
One of the more obvious stops before you get to the loop road in the park is the Jordon Pond House. It is hard to miss between the large building and the massive amount of people walking around. Best known for the restaurant and gift shop, this building is often crawling with families and senior citizens.
However, to avoid the crowds, get here right after sunrise, and you will have the place to yourself. Once you get past the house, toward the pond itself, you can really start to work the view. The downside to this locations, is that it easily one of the most taken shots. Looking across the pond, you see the two iconic “bubbles”. However, where you can stand out is that by getting there early, you can get some
great light, the last of the fog that hags over the water, and if you are lucky, you can spot a few loons make their rounds.
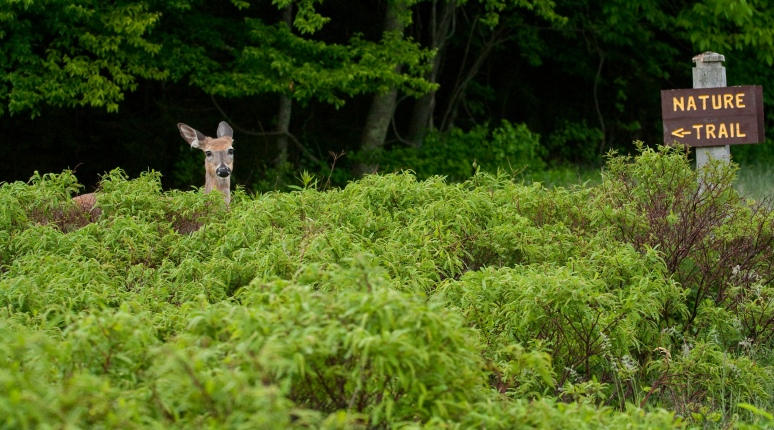
Last time I was there, I was fortunate enough to have a deer come crashing out of the woods in front of me and she was polite enough to stick around for a few minutes and let me take her picture. When fall hits, the tree’s surrounding the pong all-light up like fireworks, and you can get some real punch in your images. If you have the time, take the few minute long hike around the pond, but their aren’t too many fantastic vantage points.
Next Up: Thunderhole
Until next time, happy shooting.
Enduring: Where it counts

It was -37 degrees with a windchill when I took this photo. It was so cold, my breath was freezing to my eyelashes.
People often ask me how I manage to capture good sunsets and sunrises. This triggers a battle between humility and hubris and I have to try not to respond with “well, really, when you’re as good as me, there’s nothing to it.” Once reality comes crashing down on me like a gigantic wave (which I have been hit with my fair share of) I remove my head from my ass and come up with a few more realistic reasons.
I could tell you all the technical details that go into taking well-exposed images, but in the end it really comes down to good old fashioned, dedication and commitment. Now, at the risk of sounding cliché or like some lame self-help manual, let me explain. Statistically speaking, not every sunset or sunrise is going to be spectacular, and in fact, most aren’t. While people often complain that the weather is never nice enough, really, there are a lot of cloudless bright sunny days and in photography that’s a quick way to get boring pictures.
Where the commitment and dedication come in is that you have to accept the fact that you have to go out prepared to get absolutely nothing. There have been numerous times that I have shown up for a sunrise, bleary eyed at 4am, and I get into position only to have the sun decide it didn’t want to come out that day and sat behind some clouds. Or, the exact opposite and there isn’t a single cloud in the sky and therefore the colors are dull as dull can be.
You need to be further committed in that sometimes, when you show up and the clouds are thick and as far as the eye can see, you have to ride it out. One in ten times, when you think that there isn’t going to be a sunrise or sunset at all, the clouds fortuitously part and you are treated with a grand spectacle of great color, tone, texture and light.

During the first billzard of the 2010 Winter, I was out in the field enduring the wind, icy snow, and occasionally dodging waves.
The other way the dedication plays a role is that landscape photography is typically at its best when Mother Nature is at her worst. When it is -30 degrees out, the wind is whipping, and your fingers and toes have long been numb, packing up and heading for the warmth of your car is the easy thing to do. However, the rewards for enduring often out weigh the potential frostbite and what’s a toe or two in pursuit of your art? I have taken pictures in just about every form of weather short of a tornado (and I’ll add that to the list at some point.) I have been out in blizzards and torrential downpours, from the coldest days to the hottest. Far from what I would call a glamorous job. If there is one thing I can say about us landscape photographers is though, we relish in being miserable. When the conditions are awful, and we trudge out to our chosen location, we are miserable… and loving it. There is something in knowing that you are willing to rise about the conditions and still go out and take pictures.
You have to want to capture great pictures, and then, only with dogged perseverance can you achieve that. You have to be willing to take the time to go out, shoot, and if you fail, get up the next day and do it all over again. Any one person can and will get lucky and capture a great picture, but it to do it again and again and again requires more. The time commitment just isn’t something that most people can or will put in, and that is where the separation between your average hobbyist and diehard is.
So there you have it. An unadulterated view of what we landscape photogs go through to get the most out of our work. It’s not always fun, but like every other endeavor, the hard knocks are what make the final product so great. So I promise that I will continue to brave harsh conditions and early mornings so that I can bring you great pictures that inspire you. Or at least until it kills me.
Until next time, happy shooting.
Acadia Here I Come

The fog that had rolled in the night before persisted to the morning, making for a breathtaking sunrise.
With my October trip to Acadia looming, I felt it was it was a great idea to go over some of the great places to shoot in and around the park. There are a few more known ones and a few off the beaten path. Over the next few weeks, I’ll introduce you to Jordan Pond, Cadillac Mountain, Sandy Beach, Otter Cliffs, and a few other locations.
Acadia is an extremely unique landscape as it offers the best of multiple types of landscapes, all on a tiny island. You get the beauty of looming mountains that slope right down onto the classic rugged Maine coast line. Throw in some lovely sounds that are dotted with picturesque fishing villages and the sea side charm of Bar Harbor, and you have yourself a picture taking smorgasbord.
The first stop on our journey is Bar Harbor. The undeniable hub of Mount Desert Island, Bar Harbor is the quintessential tourist sea side town. That being said, there is a certain charm to it. With a fair mix of high end restaurants, local pubs, and the lovely view of Frenchman Bay (keep your eyes peeled for the iconic schooner Margaret Todd,” you can’t help but enjoy the atmosphere. However, come October, all but the leaf-peepers and locals are left, and you have the run of the town without all the nuclear families streaming the sidewalks.
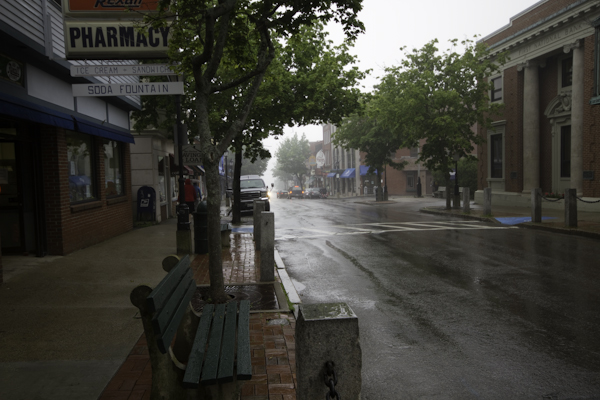
If you can manage to pull yourself out of bed for sunrise, try to ignore the instinct to head right for the top of Cadillac Mountain and head downtown. Mount Desert Island is well known for its fog, and it’s usually at its peak first thing in the morning. You can get some great shot of the fog hanging over the bay and drifting through the streets. Otherwise, hang out until twilight, and catch the orange street lights contrasted against the deep blue sky.
Until next time, happy shooting!
Tools of the Trade: Smart Phone
Most people would be surprised by this entry, but as the technology that is packed into these tiny devices continues to stagger me, it’s hard to ignore now. I can honestly say that using my iPhone has saved me a lot of time with photography. With access to thousands upon thousands of apps, I am able to turn my iPhone into a digital Swiss-army-knife.
Here is a list of a few apps that I used a lot in regards to photography.
The Weather Channel: This one is pretty obvious. With the ability to stay up to date on the weather is critical in making or breaking a day of shooting. There have been more than a few times that I have chosen to stay in knowing that there wasn’t going to be much for light, or have raced out of the house because I can see the conditions will be right.
Sunrise Sunset: Again, pretty obvious. Not only is it useful the day of shooting, but often I can plan a day weeks in advance.
ShralpTide: A nifty app that can tell you the tides for any area in the world for a 5 day stretch. This is useful for me as most of my shooting is done here on the rugged coast of Maine. This lets me decide what I will go out looking for. If its close to high tide, I look for waves. If it is close to low tide, I look for reflections.
Sunseeker: This is a great app, especially if you are using it for sunrise. It has a 3D Live-view option that lets you see the path of the sun from horizon to horizon. A lot of times when I get up for a sunrise shoot, I will go to a location, and figure out where the sun will rise. It makes it a lot easier than finding a good spot only to have to move because it’s at a bad angle.
Facebook/Twitter: I know that this wouldn’t seem like a good tool for photography, but when you are trying to make a business out of it, the ability to be connected to millions of potential viewers is important. Now I can share updates and pictures on location.
There are other useful apps too, but none that stand out more than these. I like to play games while waiting for a long exposure, or listen to music while I set up, or even use it as a flashlight when I am stupid and forget mine in the car. One day, these tiny little devices will all take DSLR quality pictures. Until then, I’ll still be out there shooting with my camera, you can count on that.
Introducing Tools of the Trade
Have you ever caught yourself staring at a picture and wondered to yourself “how in the hell did they do that?” or “how did they know that was going to happen?” Well, I hope that I can answer a few of those questions for you in a series of entries that I am going to be posting on here called “Tools of the Trade.” In these entries, I will outline either a piece of equipment I use or a shooting technique, or a post process edit I use.
My hope is to shed some light on the behind the scenes of landscape and nature photography. Feel free to email me any questions or ideas you have for Tools of the Trade and it might get featured as a blog later on!


